Because you are performing a Network Installation, this installation process must first be done from the Application Server.
1.Navigate to the EventPro.Win.Setup.exe you downloaded earlier, and double-click to run it.
Depending on the security settings on your network or computer, you may receive a warning about installing software, and you may need to click Run or OK to continue the installation.
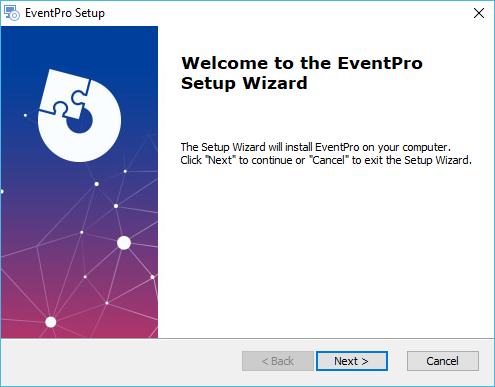
2.The installation wizard will begin. Click Next to continue.
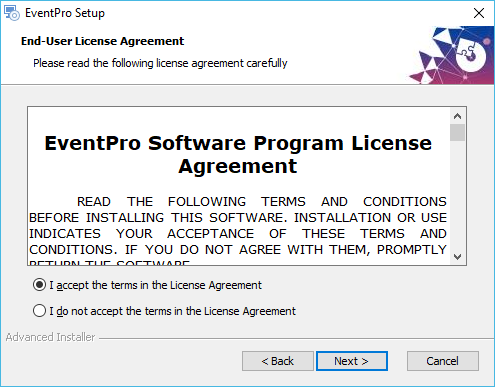
3.End-User License Agreement:
a.Please read the EventPro Software Program License Agreement.
b.Select I ACCEPT or I DO NOT ACCEPT below. If you do not accept the license agreement, you cannot continue with the installation process.
c.Click Next to continue.
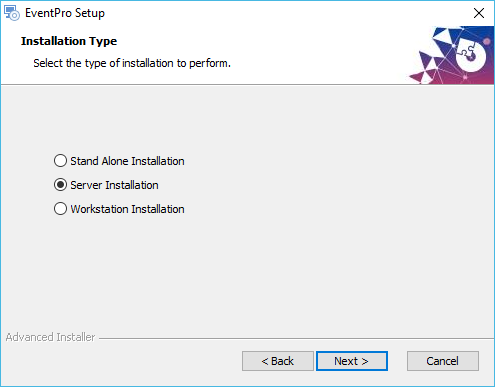
4.Installation Type: Choose Server Installation, and click Next.
(Review Installation Types above, if necessary.)
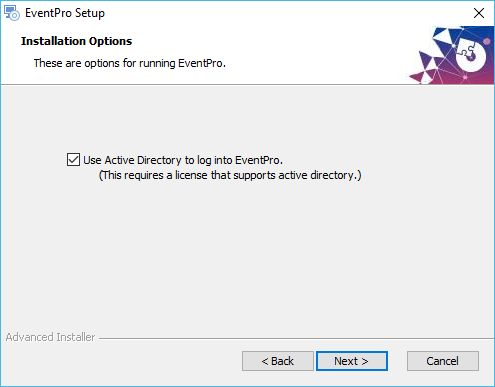
5.Installation Options: Select the checkbox next to Use Active Directory to log into EventPro.
Click Next.
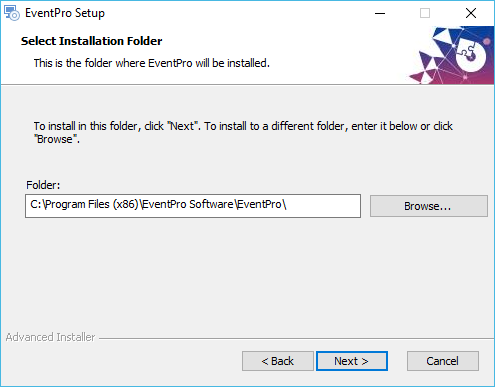
a.You can use the default Program Files path or enter a new path for the Installation Folder.
b.If you do enter a different folder path, take note of it, as you will need it again for the workstation installs.
c.Click Next.
7.SQL Database:
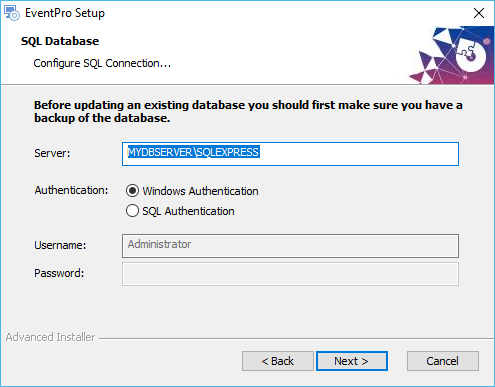
a.Enter the SQL Server Named Instance, identifying the network name of the computer plus the instance name you specified earlier when installing SQL Server (i.e. "SQLEXPRESS"). It will look something like this: MYDBSERVER\SQLEXPRESS.
b.Select the radio button next to Windows Authentication. (As you will recall from above, you set up the SQL Server Logins to use Windows Authentication.)
c.Click Next.
8.The Installer will test the connection to the database before you can proceed with the installation.
9.When the connection test is completed, click Install.
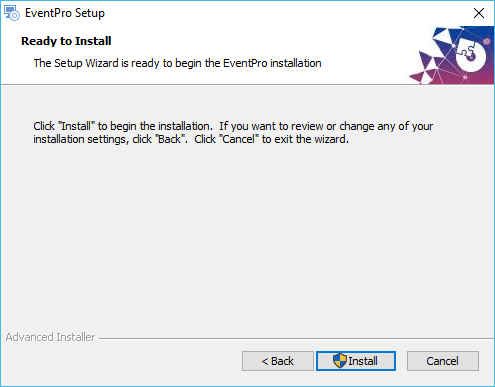
Depending on the security settings on your network or computer, you may encounter a warning, and you may need to click Yes or OK to continue the installation.
10.In the final window, click Finish.
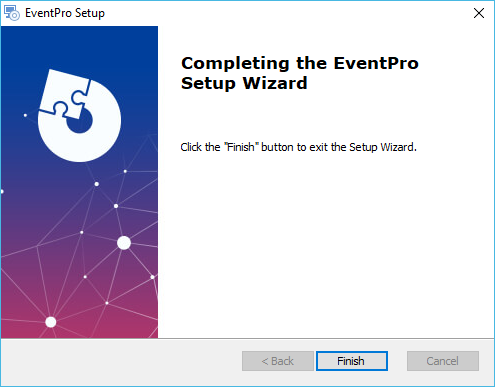
11.Now the Server Installation process is complete. Before moving on to Workstation Installations, you first need to Share the Installation Folder.